Sidebar
Table of Contents
How to configure Outlook 2010
In many ways, configuring Outlook 2010 is a similar to configuring Outlook 2007. The biggest difference you are likely to notice is the new “Ribbon” interface, in place of the traditional menu bar (File, Edit, View, etc.)
(to be completed)
SMTP Authentication
If your VPOP3 requires SMTP authentication, to set it up with Outlook 2010's new ribbon interface, go to File → Info → Account Settings
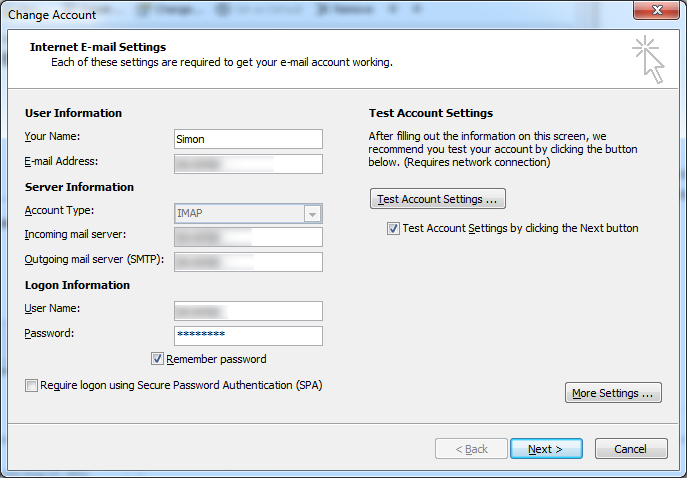
Next, select your email account and press Change….
Then, press the More Settings… button
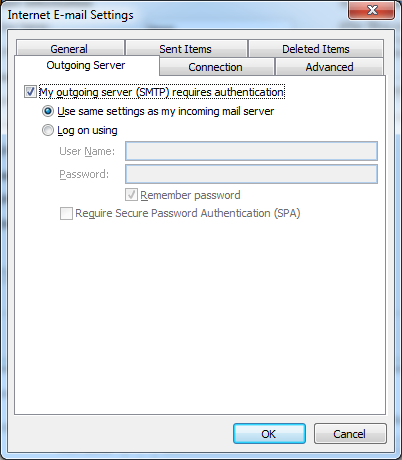
On the Outgoing Server tab, check My outgoing server (SMTP) requires authentication and Use same settings as my incoming mail server and press OK
Address Book
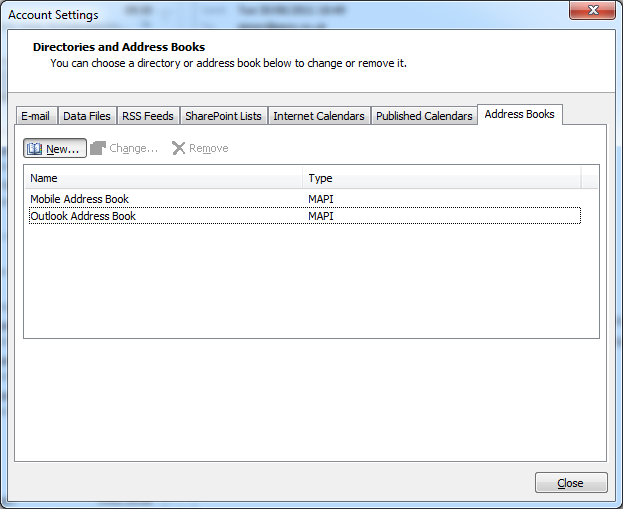
To configure Outlook to use the VPOP3 global address book, go to File → Info → Account Settings
Then choose the Address Books tab and press New…
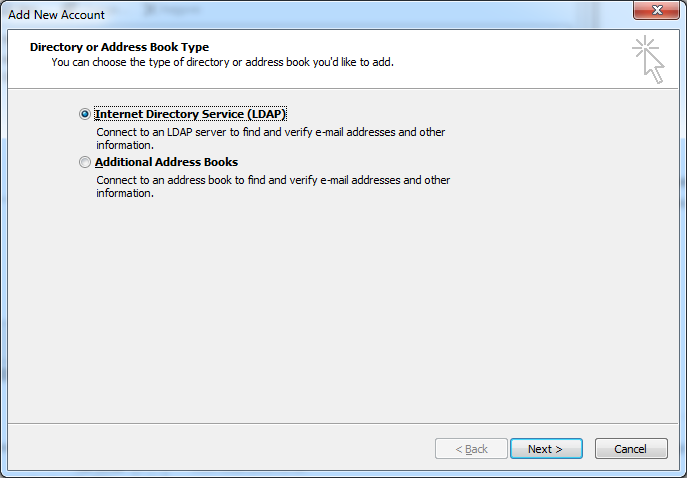
Choose Internet Directory Service (LDAP) and press Next
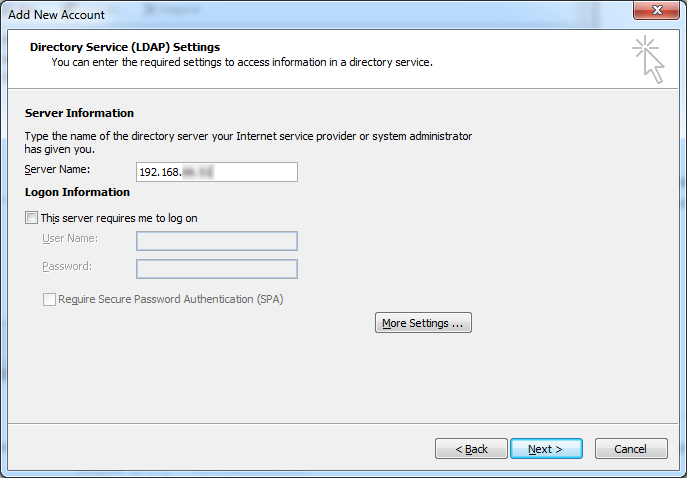
In the Server Name box type the name or IP address of your VPOP3 computer. By default, VPOP3 doesn't require you to log on
Press More Settings…
In the Connection tab you can customise the display name if you want to make it easier to recognise - so you could call it 'VPOP3' or 'Internal address book' or something. Also, you can set the Port if this has been changed in VPOP3. Usually VPOP3 uses the default of 389 but if you are running VPOP3 on an Active Directory controller, it may have been changed to 1389.
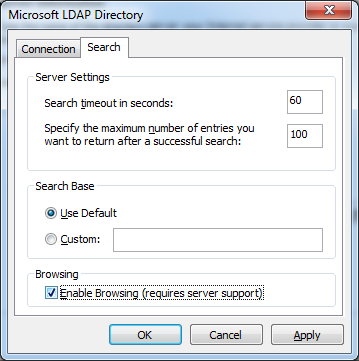
Go to the Search tab. You can set the Enable Browsing checkbox to make it easier to use (may not work on older versions of VPOP3)
Press OK, then Next, then Finish and Close
Now if you use the ribbon in Outlook to go to Home → Address Book, you will be able to choose to see and search for names in the new directory service.
If you go to Tools → Options when viewing the address book in Outlook, you can tell it to search for names in the various address lists as you are typing them when sending mail.


